
Raspberry Pi setup without monitor and keyboard #1 SSH
2015/10/01
Hi, everyone!
This article shows you how to setup Raspberry Pi without monitor.
At first, this is for people who used to use command line. If you don’t usually use command line, I think it’s better to use monitor and keyboard for Raspberry Pi setup.
We can use Raspberry Pi as a desktop computer with monitor and keyboard. On the other hand, we can use it through SSH(Secure Shell).
In this article, I will show you how to set up Raspberry Pi through SSH. This is the one of the way to set up.
How do we setup Raspberry Pi through SSH ?
・Prepare a Raspbery Pi, PC and devices
・Download Raspbian image and write it to the microSD(or SD) card.
・Insert the microSD(or SD) card into the Raspberry Pi.
・Plug the power cord(usb cable) into the Raspberry Pi.
・Search the Raspberry Pi on the network from PC.
・Set up it through SSH.
Let’s get started.
Lineup
Raspberry Pi2 Model B
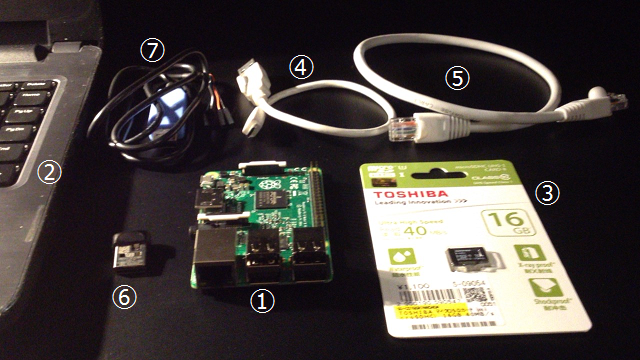
1. Raspbery Pi2 Model B
2. laptop computer(Windows 8.1)
3. microSD card
4. USB cable micro B(for power supply)
5. lan cable
6. wifi dongle(Option)
7. serial console cable(Option)
And I need microSD Card Adapter.

Download Raspbian
Raspbian is the operating system which we will use for the Raspberry Pi in this article. We can download it from the following link the Raspberry Pi Foundation.
https://www.raspberrypi.org/downloads/raspbian/
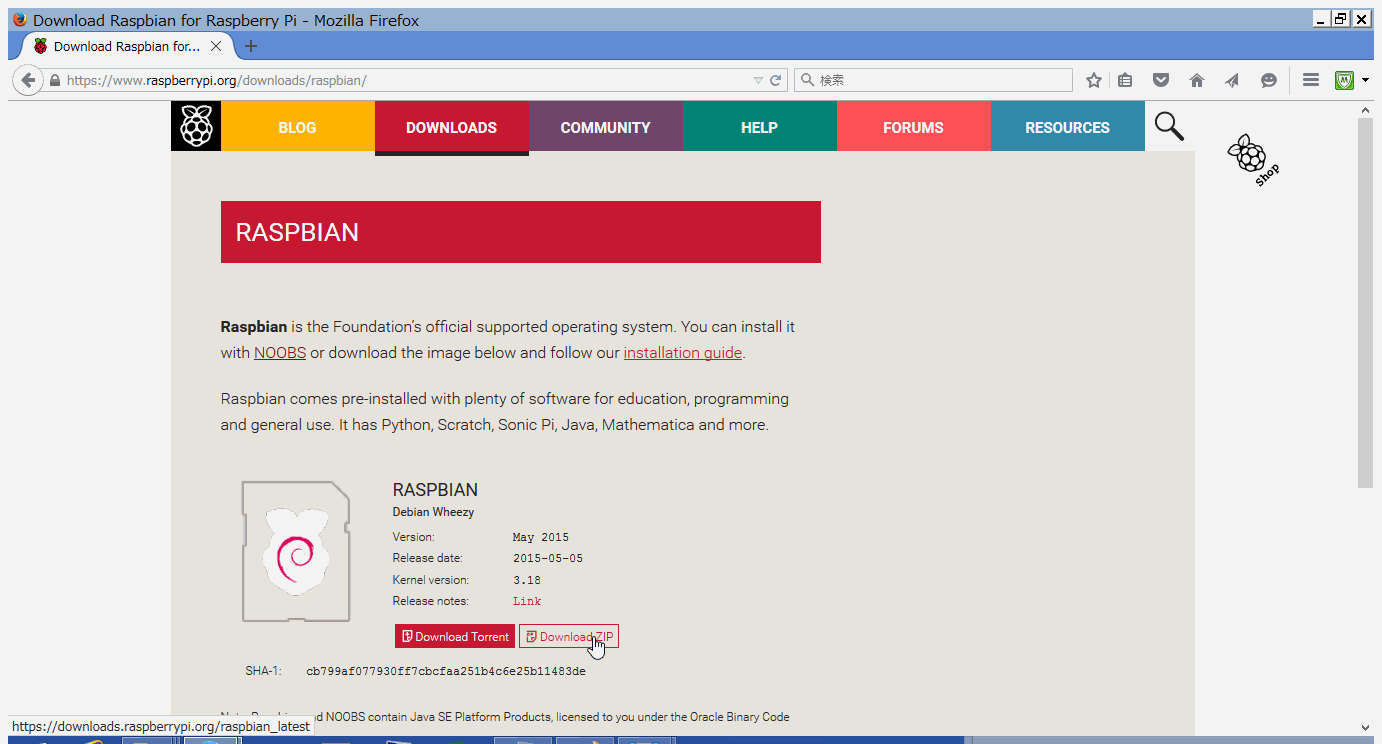
Download it and upzip the zip file.
Write image file to microSD card
We can use Win32DiskImager to write. We can download it from the following link the sourceforge.
http://sourceforge.net/projects/win32diskimager/

Download and install it on your PC.
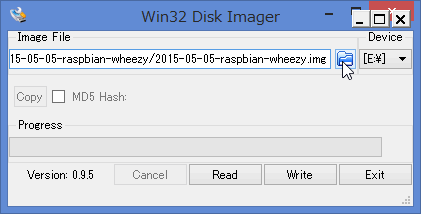
Launch Win32DiskImager. And insert microSD card into your PC.
Select microSD card drive.
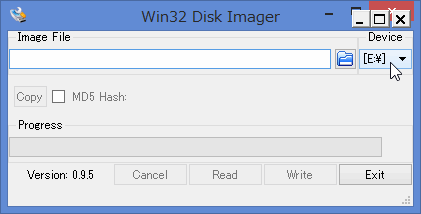
Select Raspbian image file.
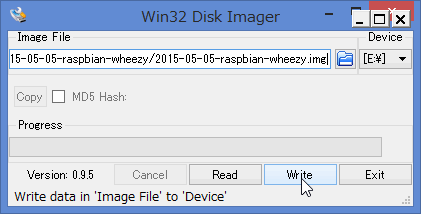
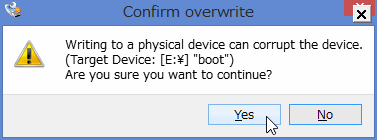
Exec write.
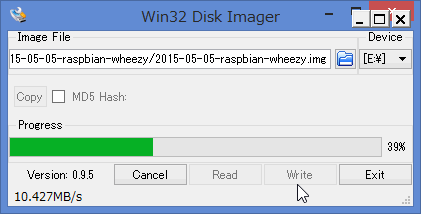
After that you are ready to power up the Raspberry Pi.
Power on and connect to network
Before you connect usb cable to Raspberry Pi, install SSH client if you have not installed it yet. PuTTY is popular as SSH clinet. I use it.
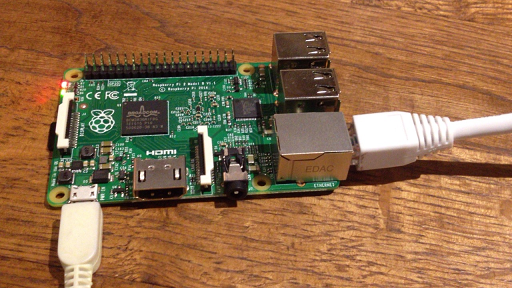
Insert the microSD card into the Pi and plug the usb cable the Pi, and connect the Pi to network with DHCP via the ethernet cable. And connect the PC to the same network.
Connet to Raspberry Pi through SSH
We need IP address of the Raspberry Pi. So we have to search the Raspberry Pi in the network.
Ping command by hostname
Using Avahi, we can search Raspberry Pi by hostname “raspberry.local” Raspbian default hostname. We can search the Pi by hostname on Windows PC with itunes or on MAC OS. When I installed itunes on Windows PC, avahi service installed automatically.
It’s easy to search the Pi.
> ping raspberrypi.local

Then you can connect to the Pi through SSH.
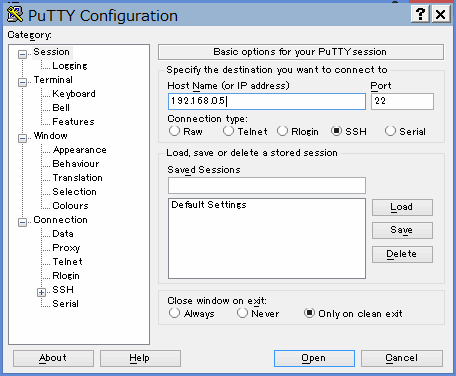
Launch PuTTY.
Type ‘raspberrypi.local’ into the Host Name field and click ‘Open’.


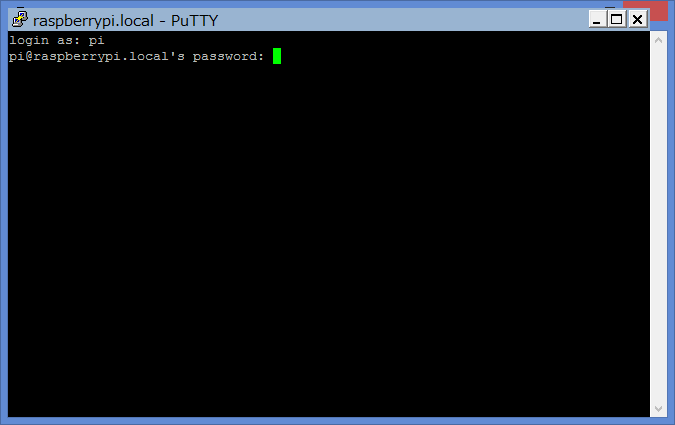
Type username and password as follows.
user: pi
password: raspberry
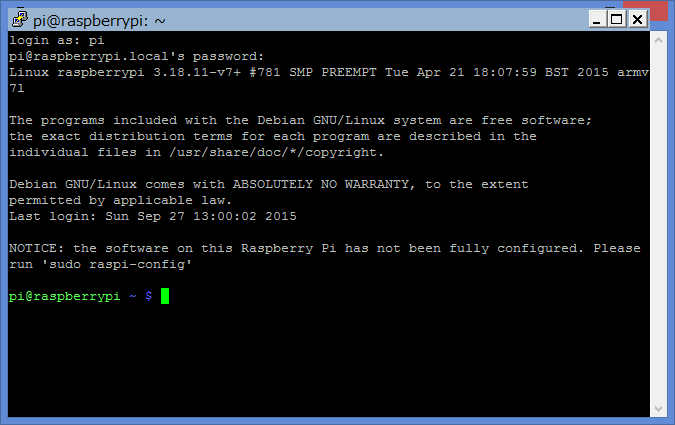
SSH connection has established. And you can exec raspi-config.
Raspberry Pi setup without monitor and keyboard #2 Raspi-config
Ping command by IP address
If you don’t want to install itunes to your windows PC and you don’t have Mac, you can search the Pi by IP address.
Caution!
You have to do that at the private area(just at home). Because they might think you are just a cracker.
ipconfig
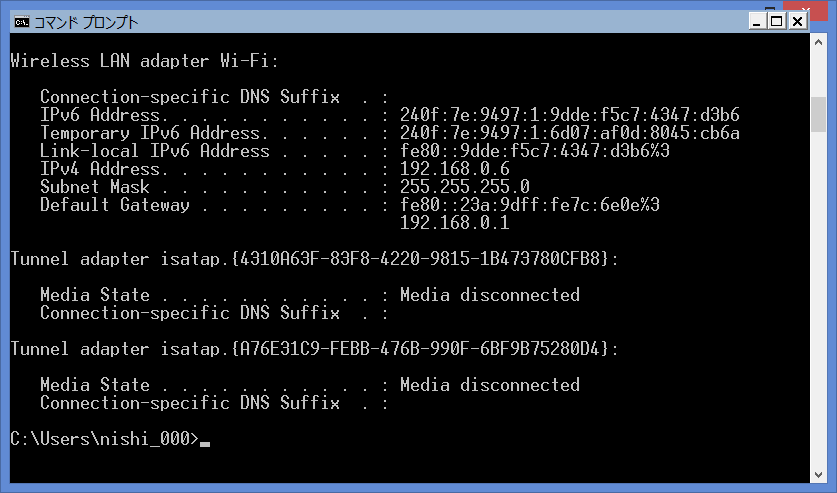
We can find “192.168.0.6” that is the PC IP address. You should shut down another computers before searching.
Search
Next, search the Pi by 192.168.0.X.
> ping 192.168.0.2
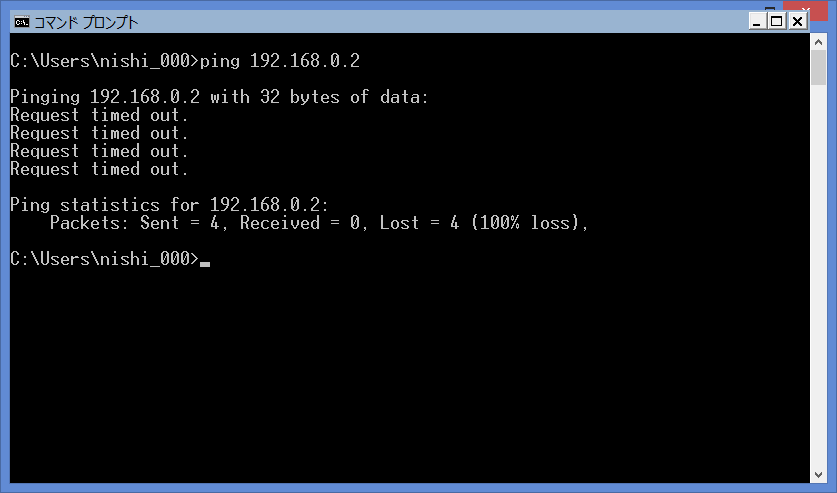
Not found.
> ping 192.168.3
> ping 192.168.4
> ping 192.168.5
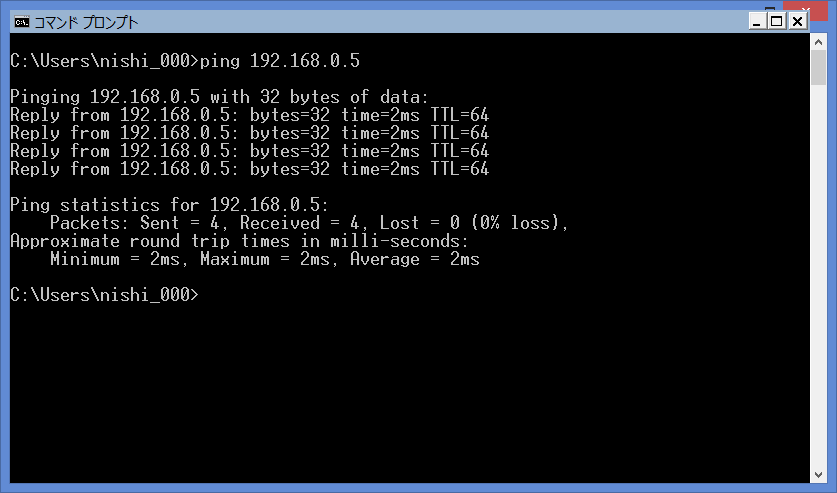
Found. But it’s something computer.
Try to connect through SSH by “pi” user.
user: pi
password: raspberry

That’s it!
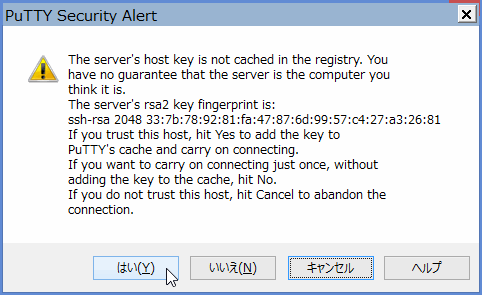
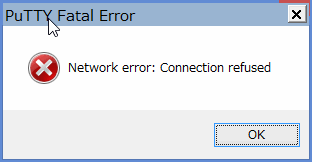
If SSH connection refused, the messagebox shows as follows.
Then you can set up and use the PI through SSH. At first you need to do ‘raspi-config’.
To be continued to the next page!
Raspberry Pi setup without monitor and keyboard #2 Raspi-config